Hi There!
So I always have alot of questions regarding Nail vinyls… So I thought I would do a quick tutorial on mermaid nails….
To Purchase Please visit: Purchase OPI Products – Use Us as a Referral!
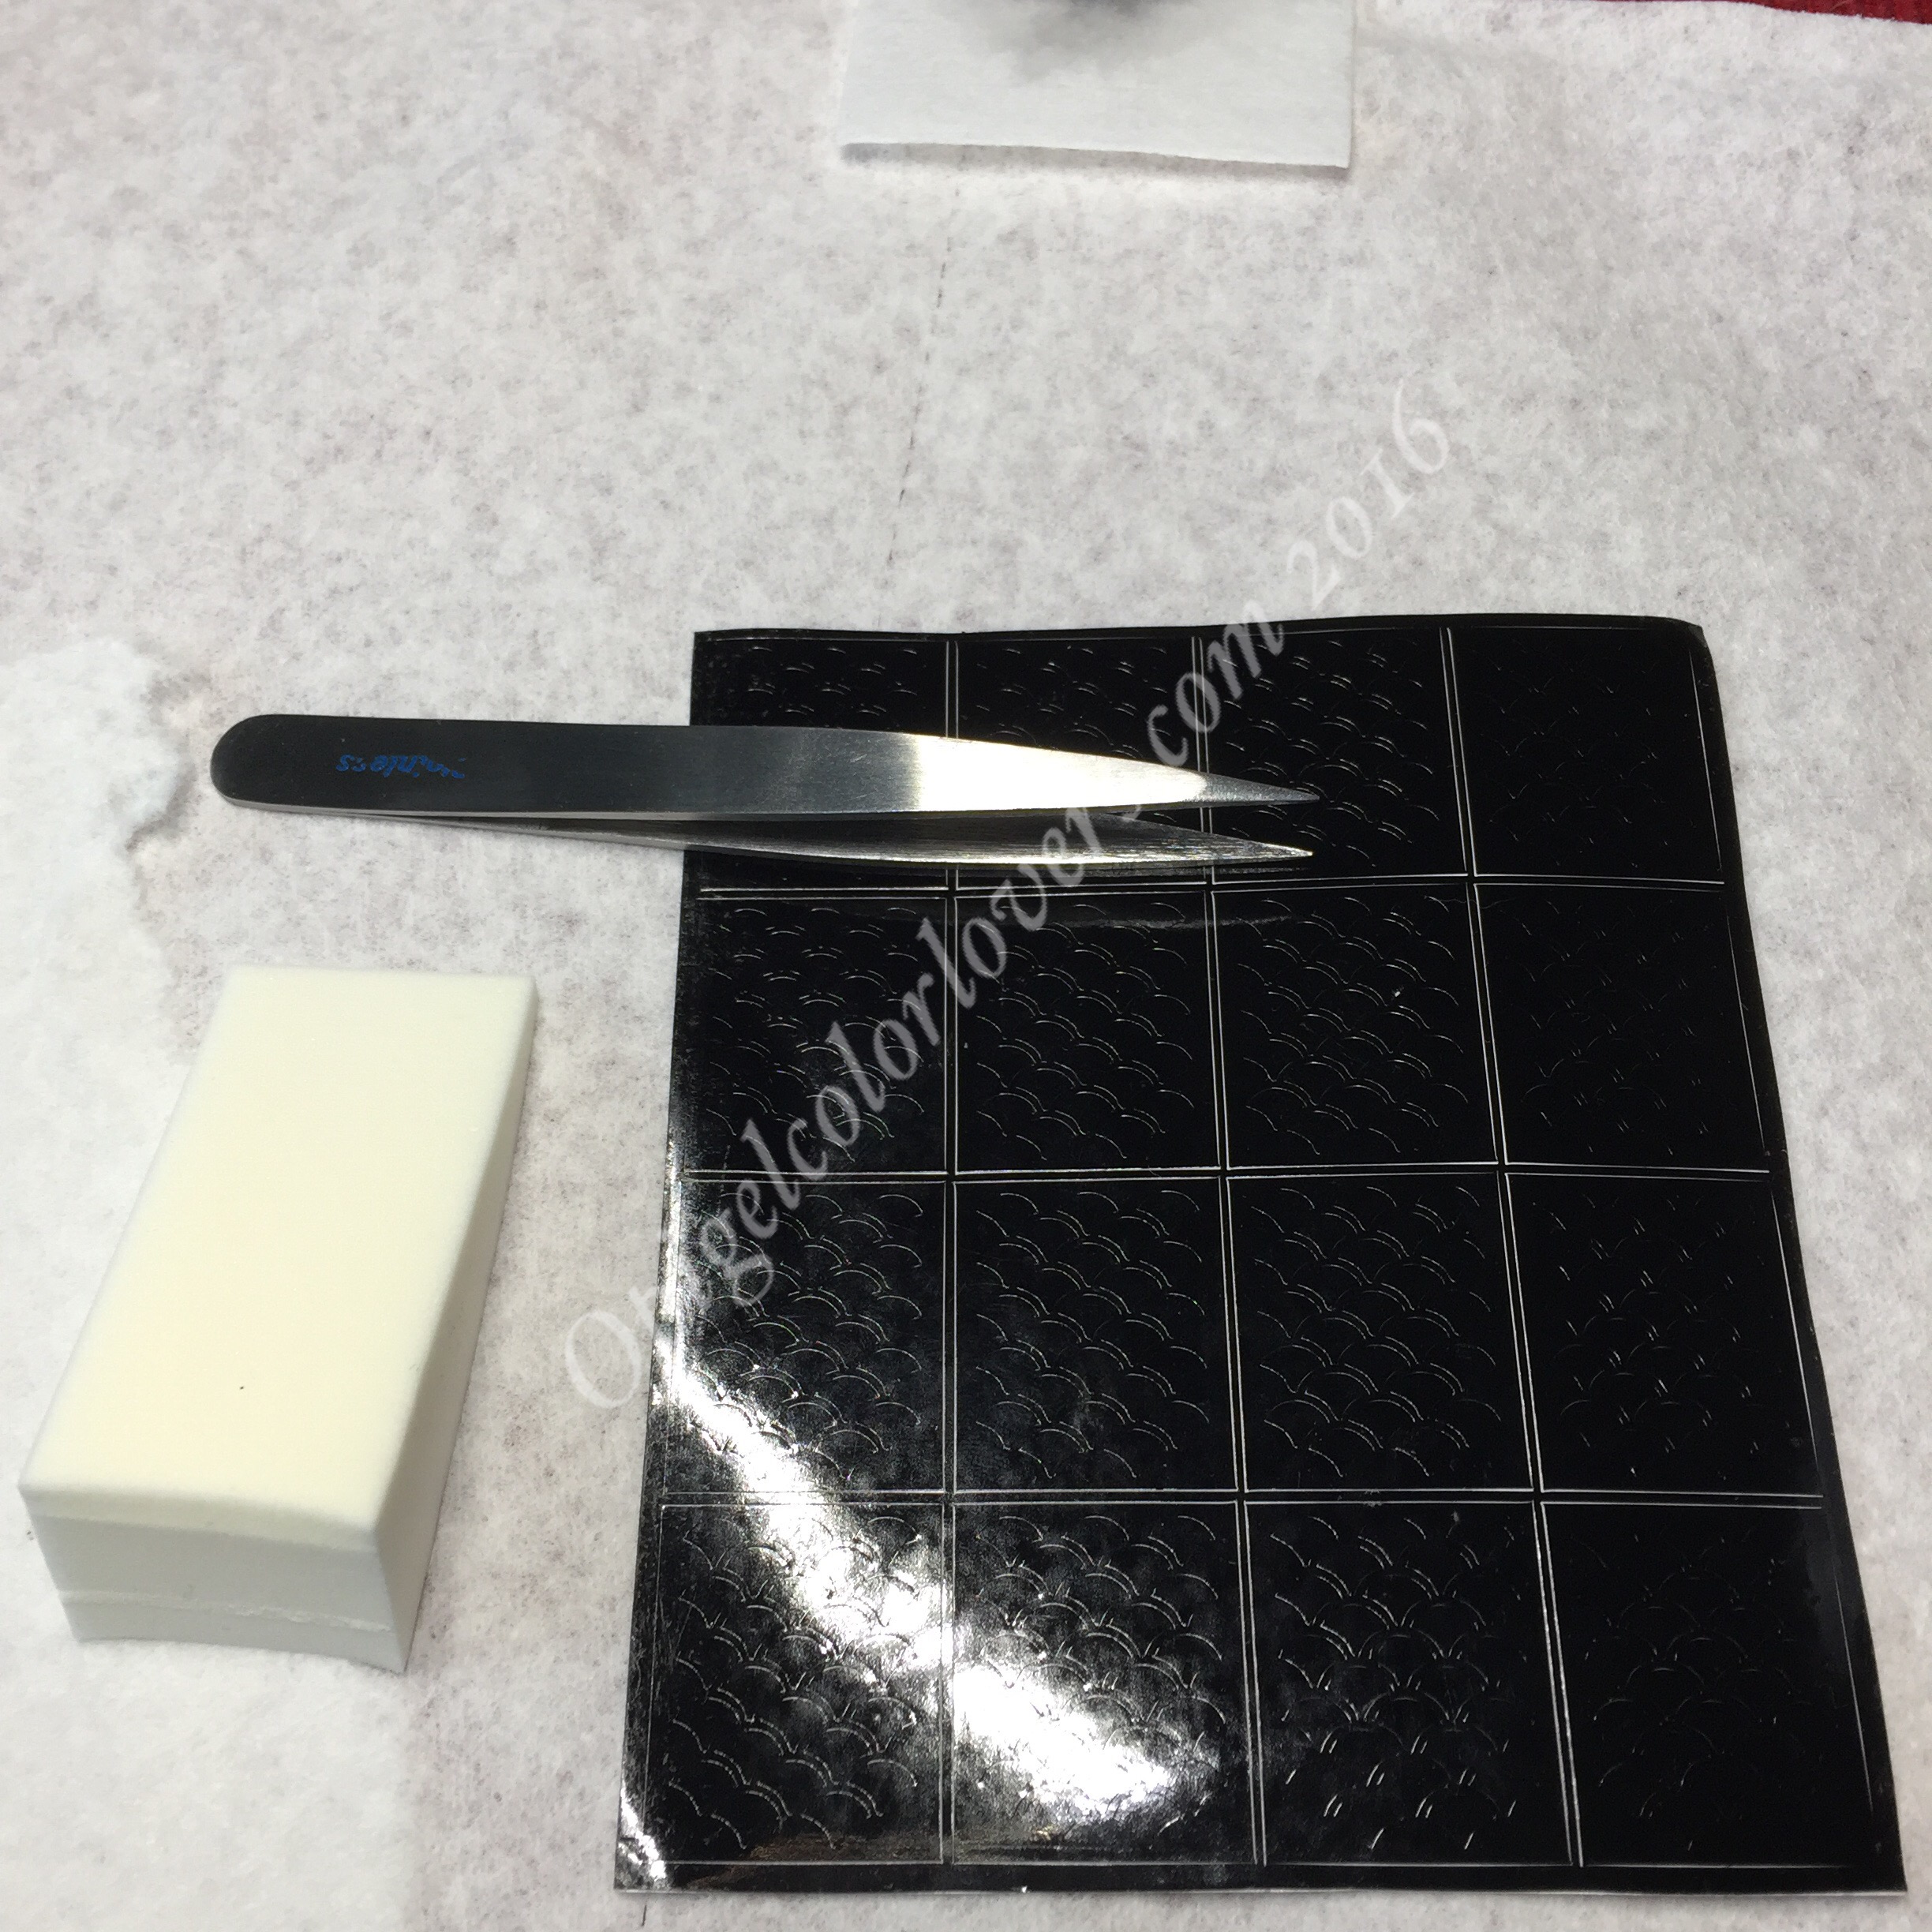
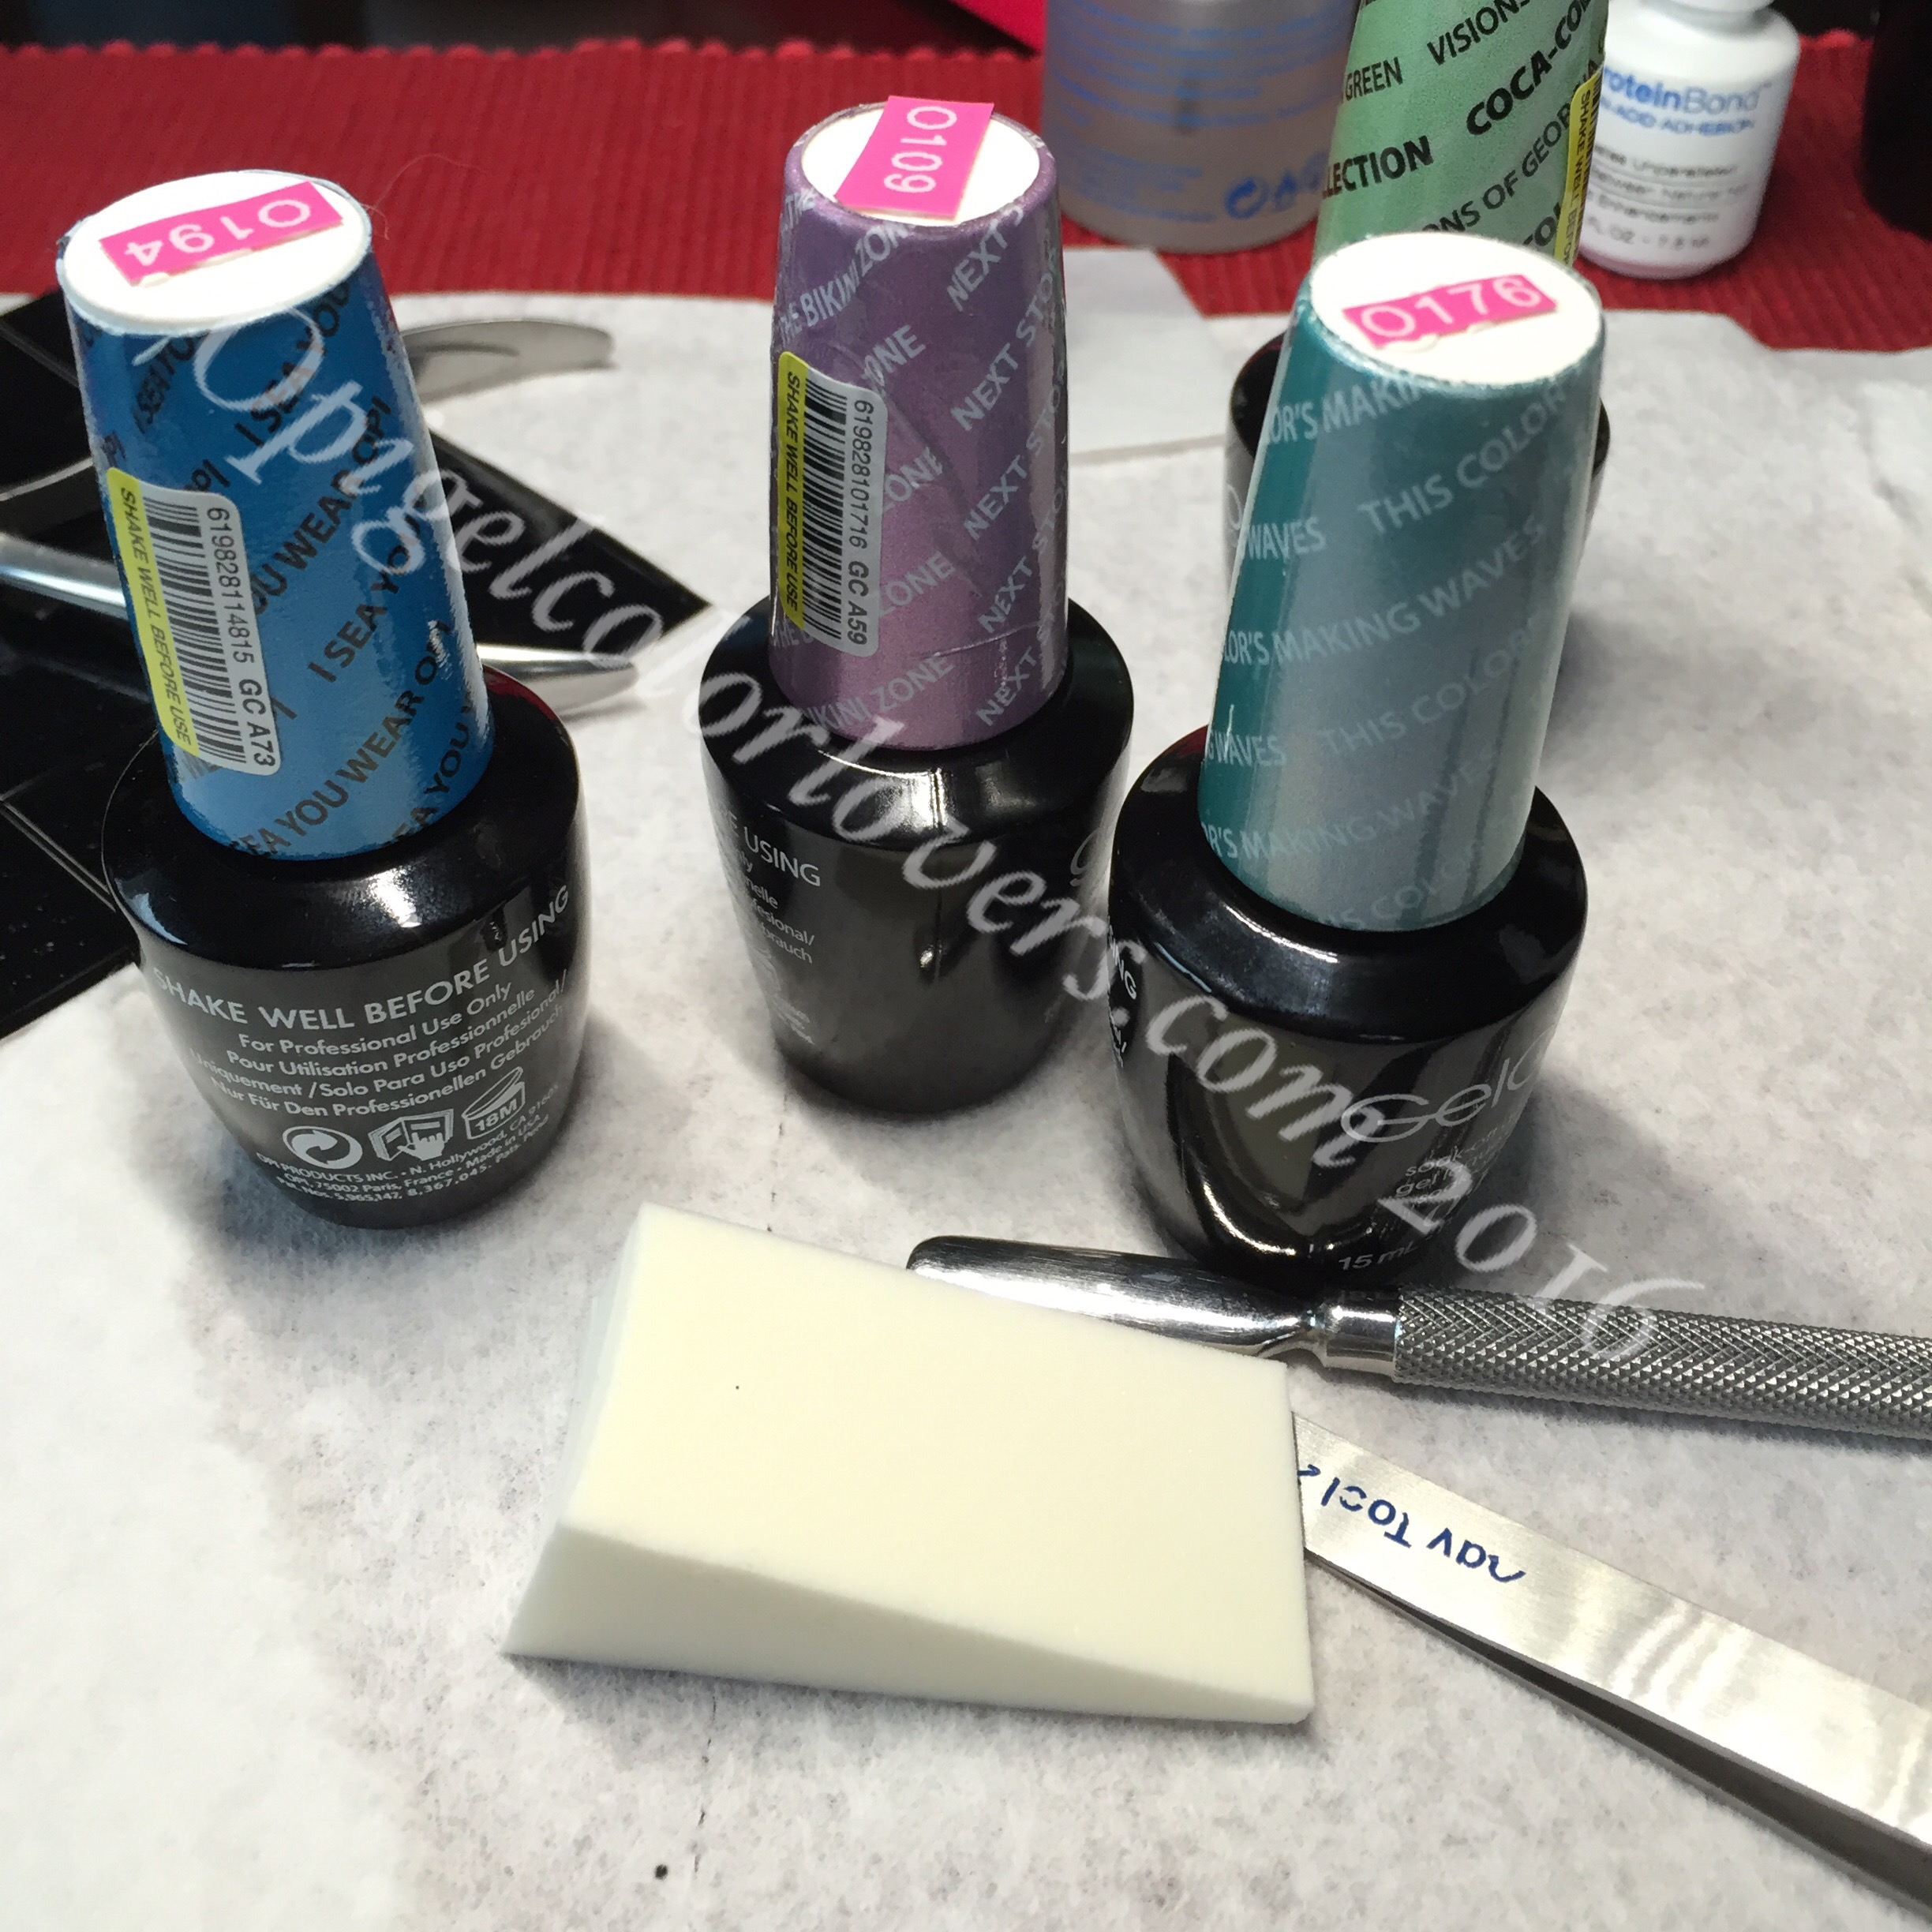
In order to complete Mermaid nails you’ll need a makeup sponge, tweezers, vinyls. Also whatever base and colors you want to use these are the three colors I’m using (I actually ended up using 4 colors).

I compelted my regular I used Can’t Have Too Mani Friends (Hello Kitty Collection). I also put a latex barrier(I use this one) around my nail bed and up to my first knuckle (thats why its shiny)…As you see it still has the tacky layer on it.
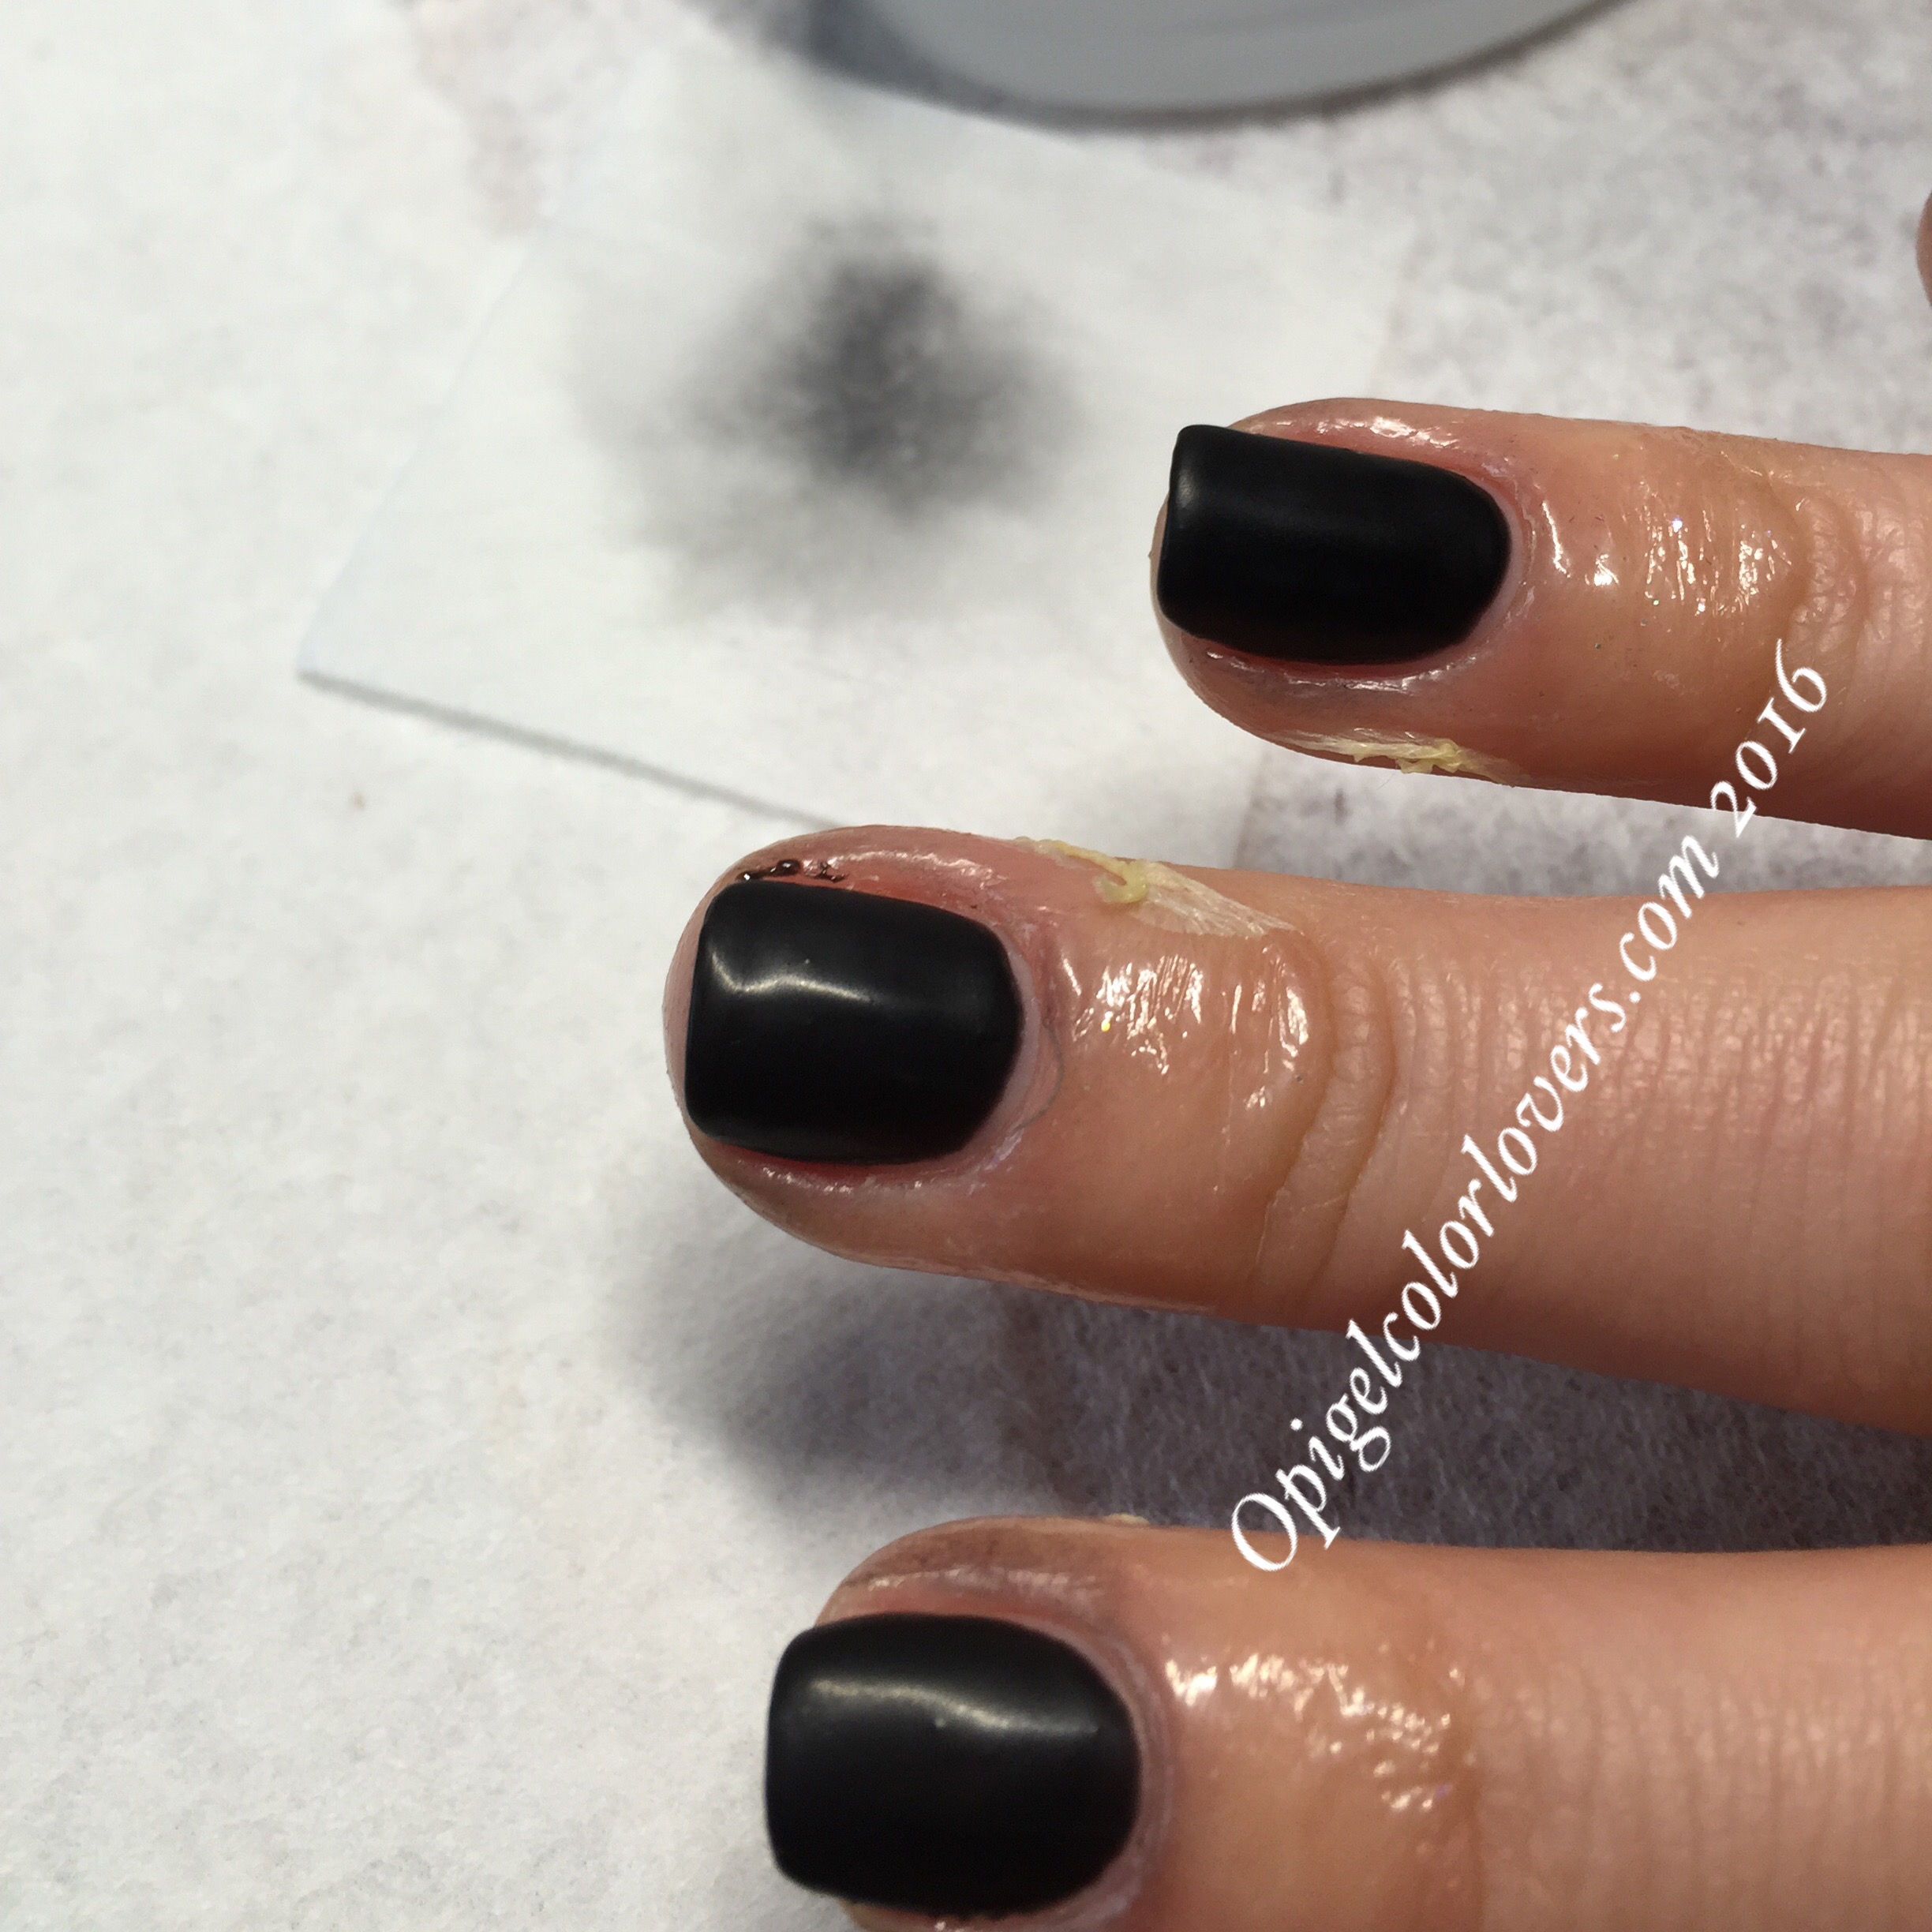
Next you will need to remove the tacky layer – some color will rub off it’s ok. They should look like above like matte.

When you remove the vinyl from the sheet use the tweezers you want to keep it as sticky as possible. Place it in the center of your nail and push straight down. Then push each side downinto the side of the nail bed. You only get one shot to do it right if it doesnt work then this vinyl is junk…

Using the makeup sponge paint 3 thick lines slightly overlaping using the thinner not thicker end of the sponge.
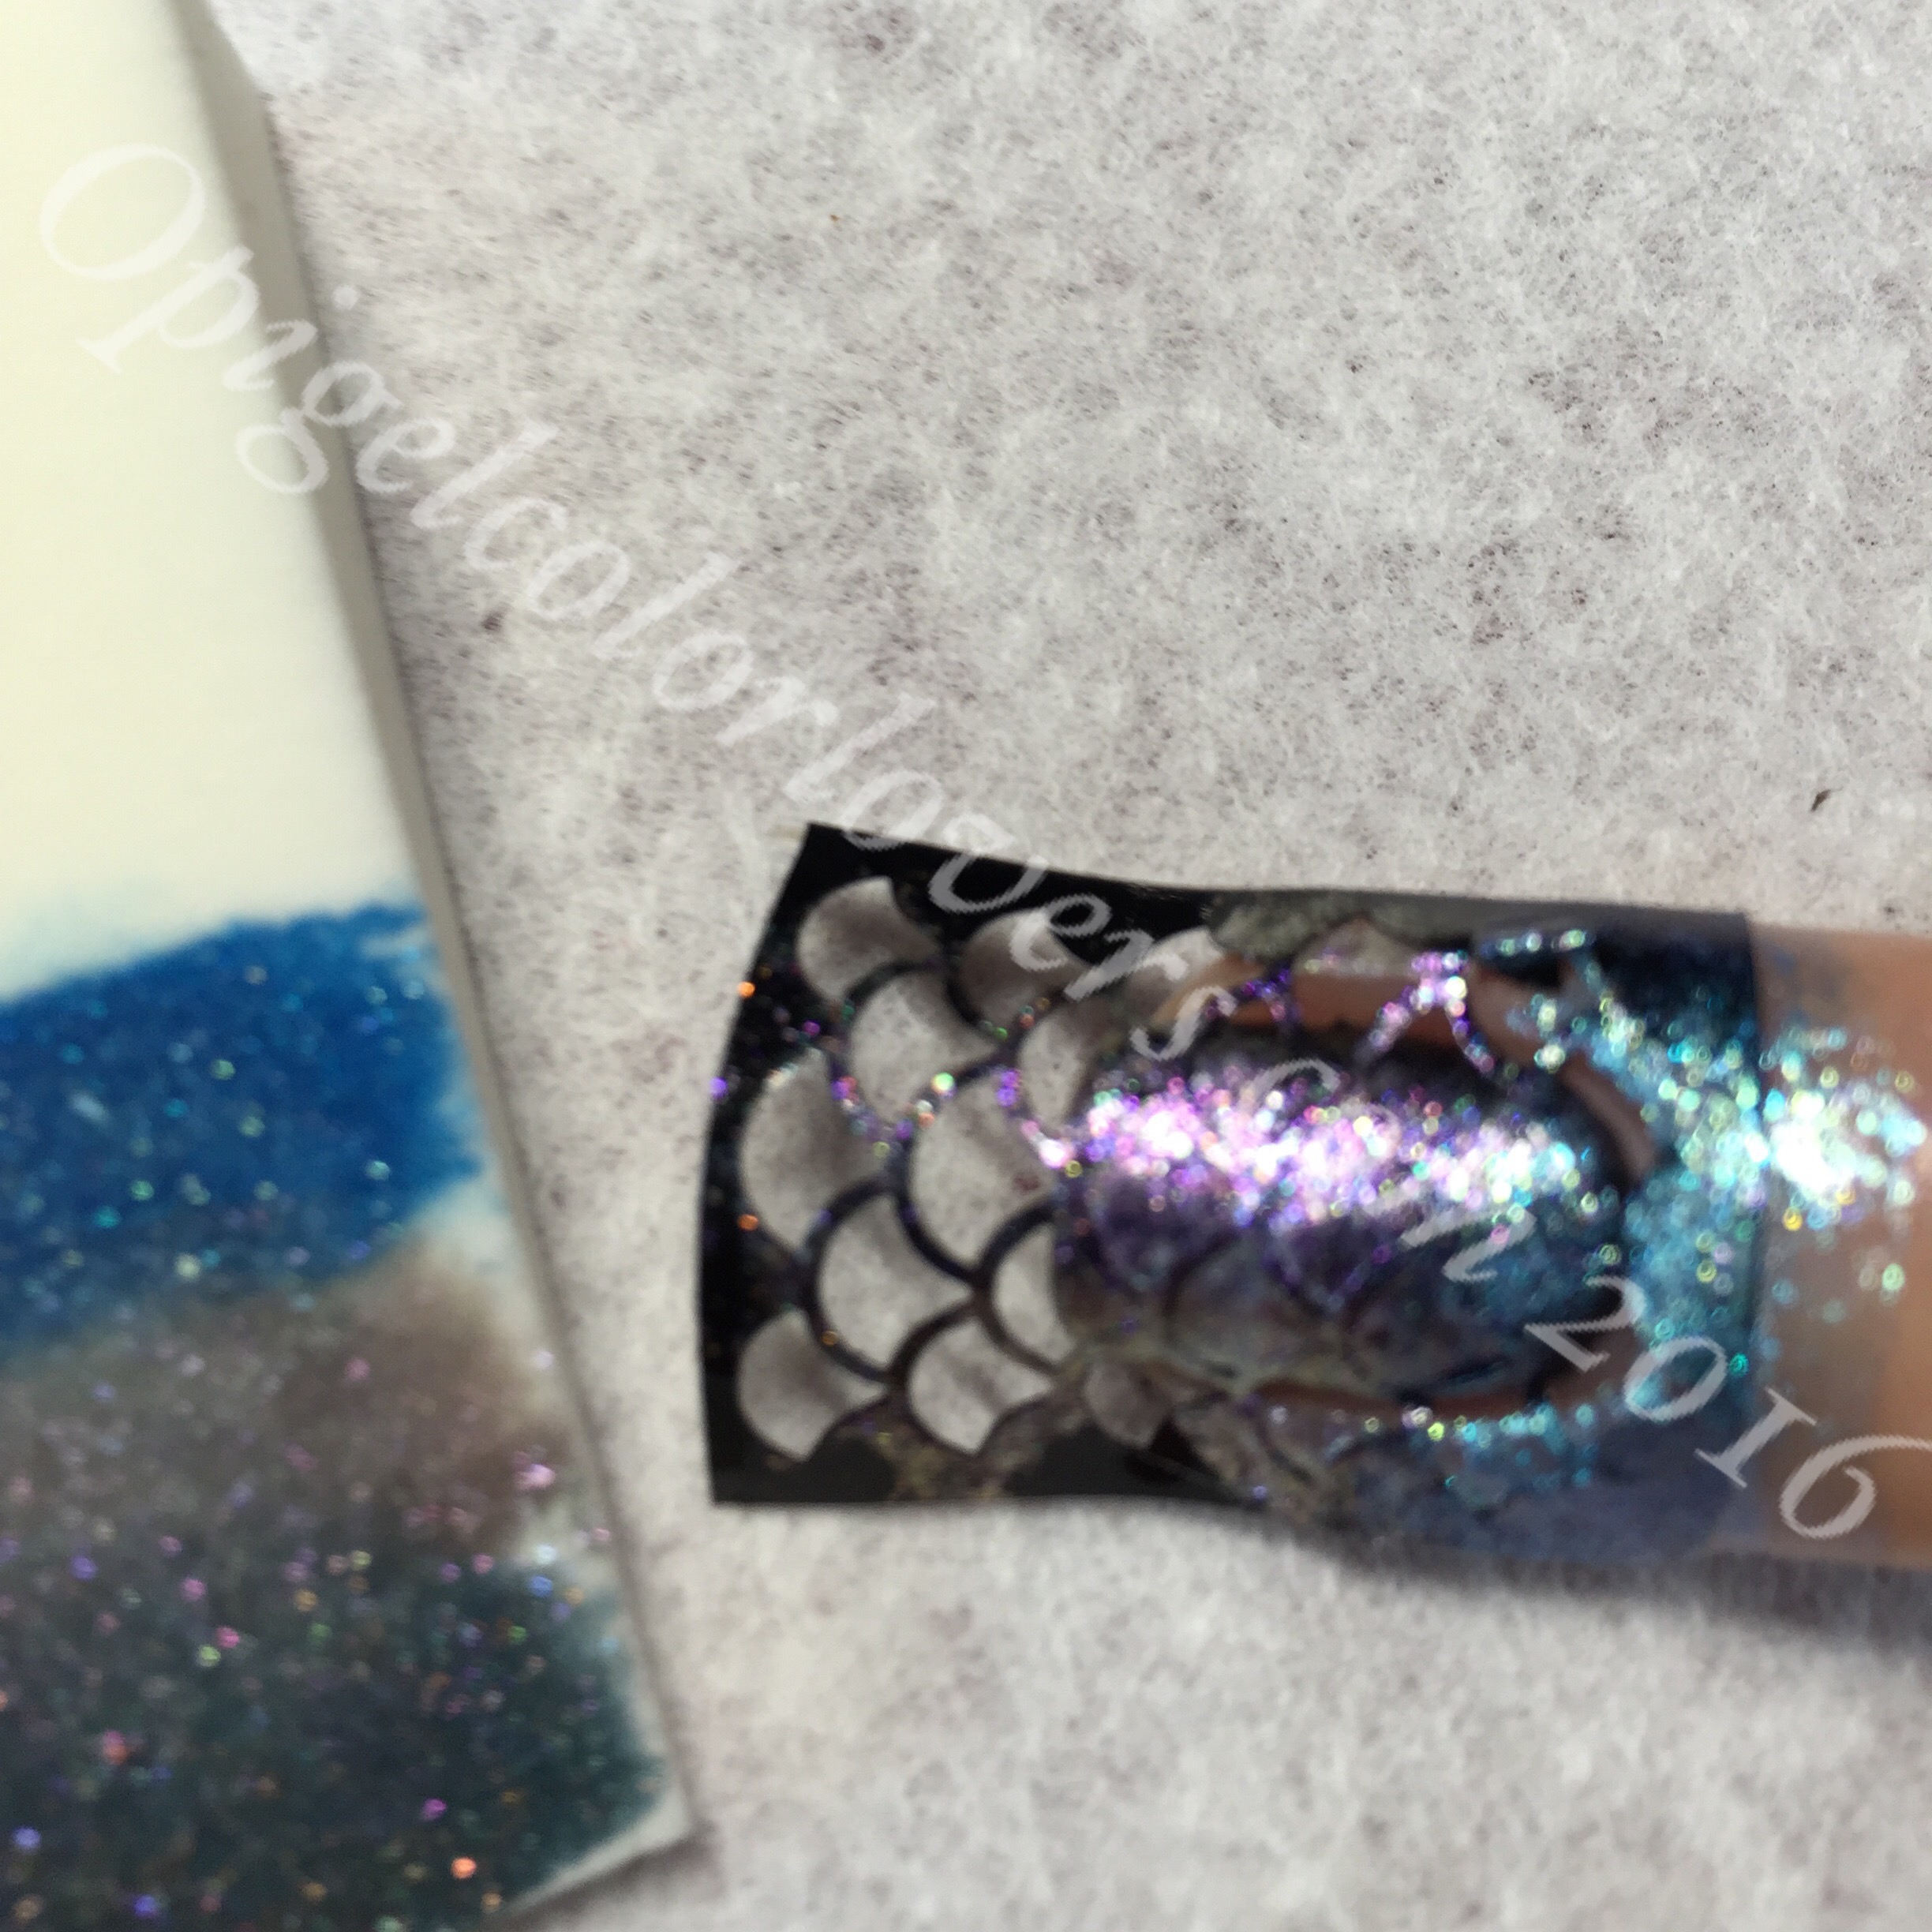
Take the sponge and dab it over the nail starting at one edge into the center then other edge and you can go over it as much as you want prior to curing.

Cure the nail, then peel off vinyl carefully! The latex will come off with it.
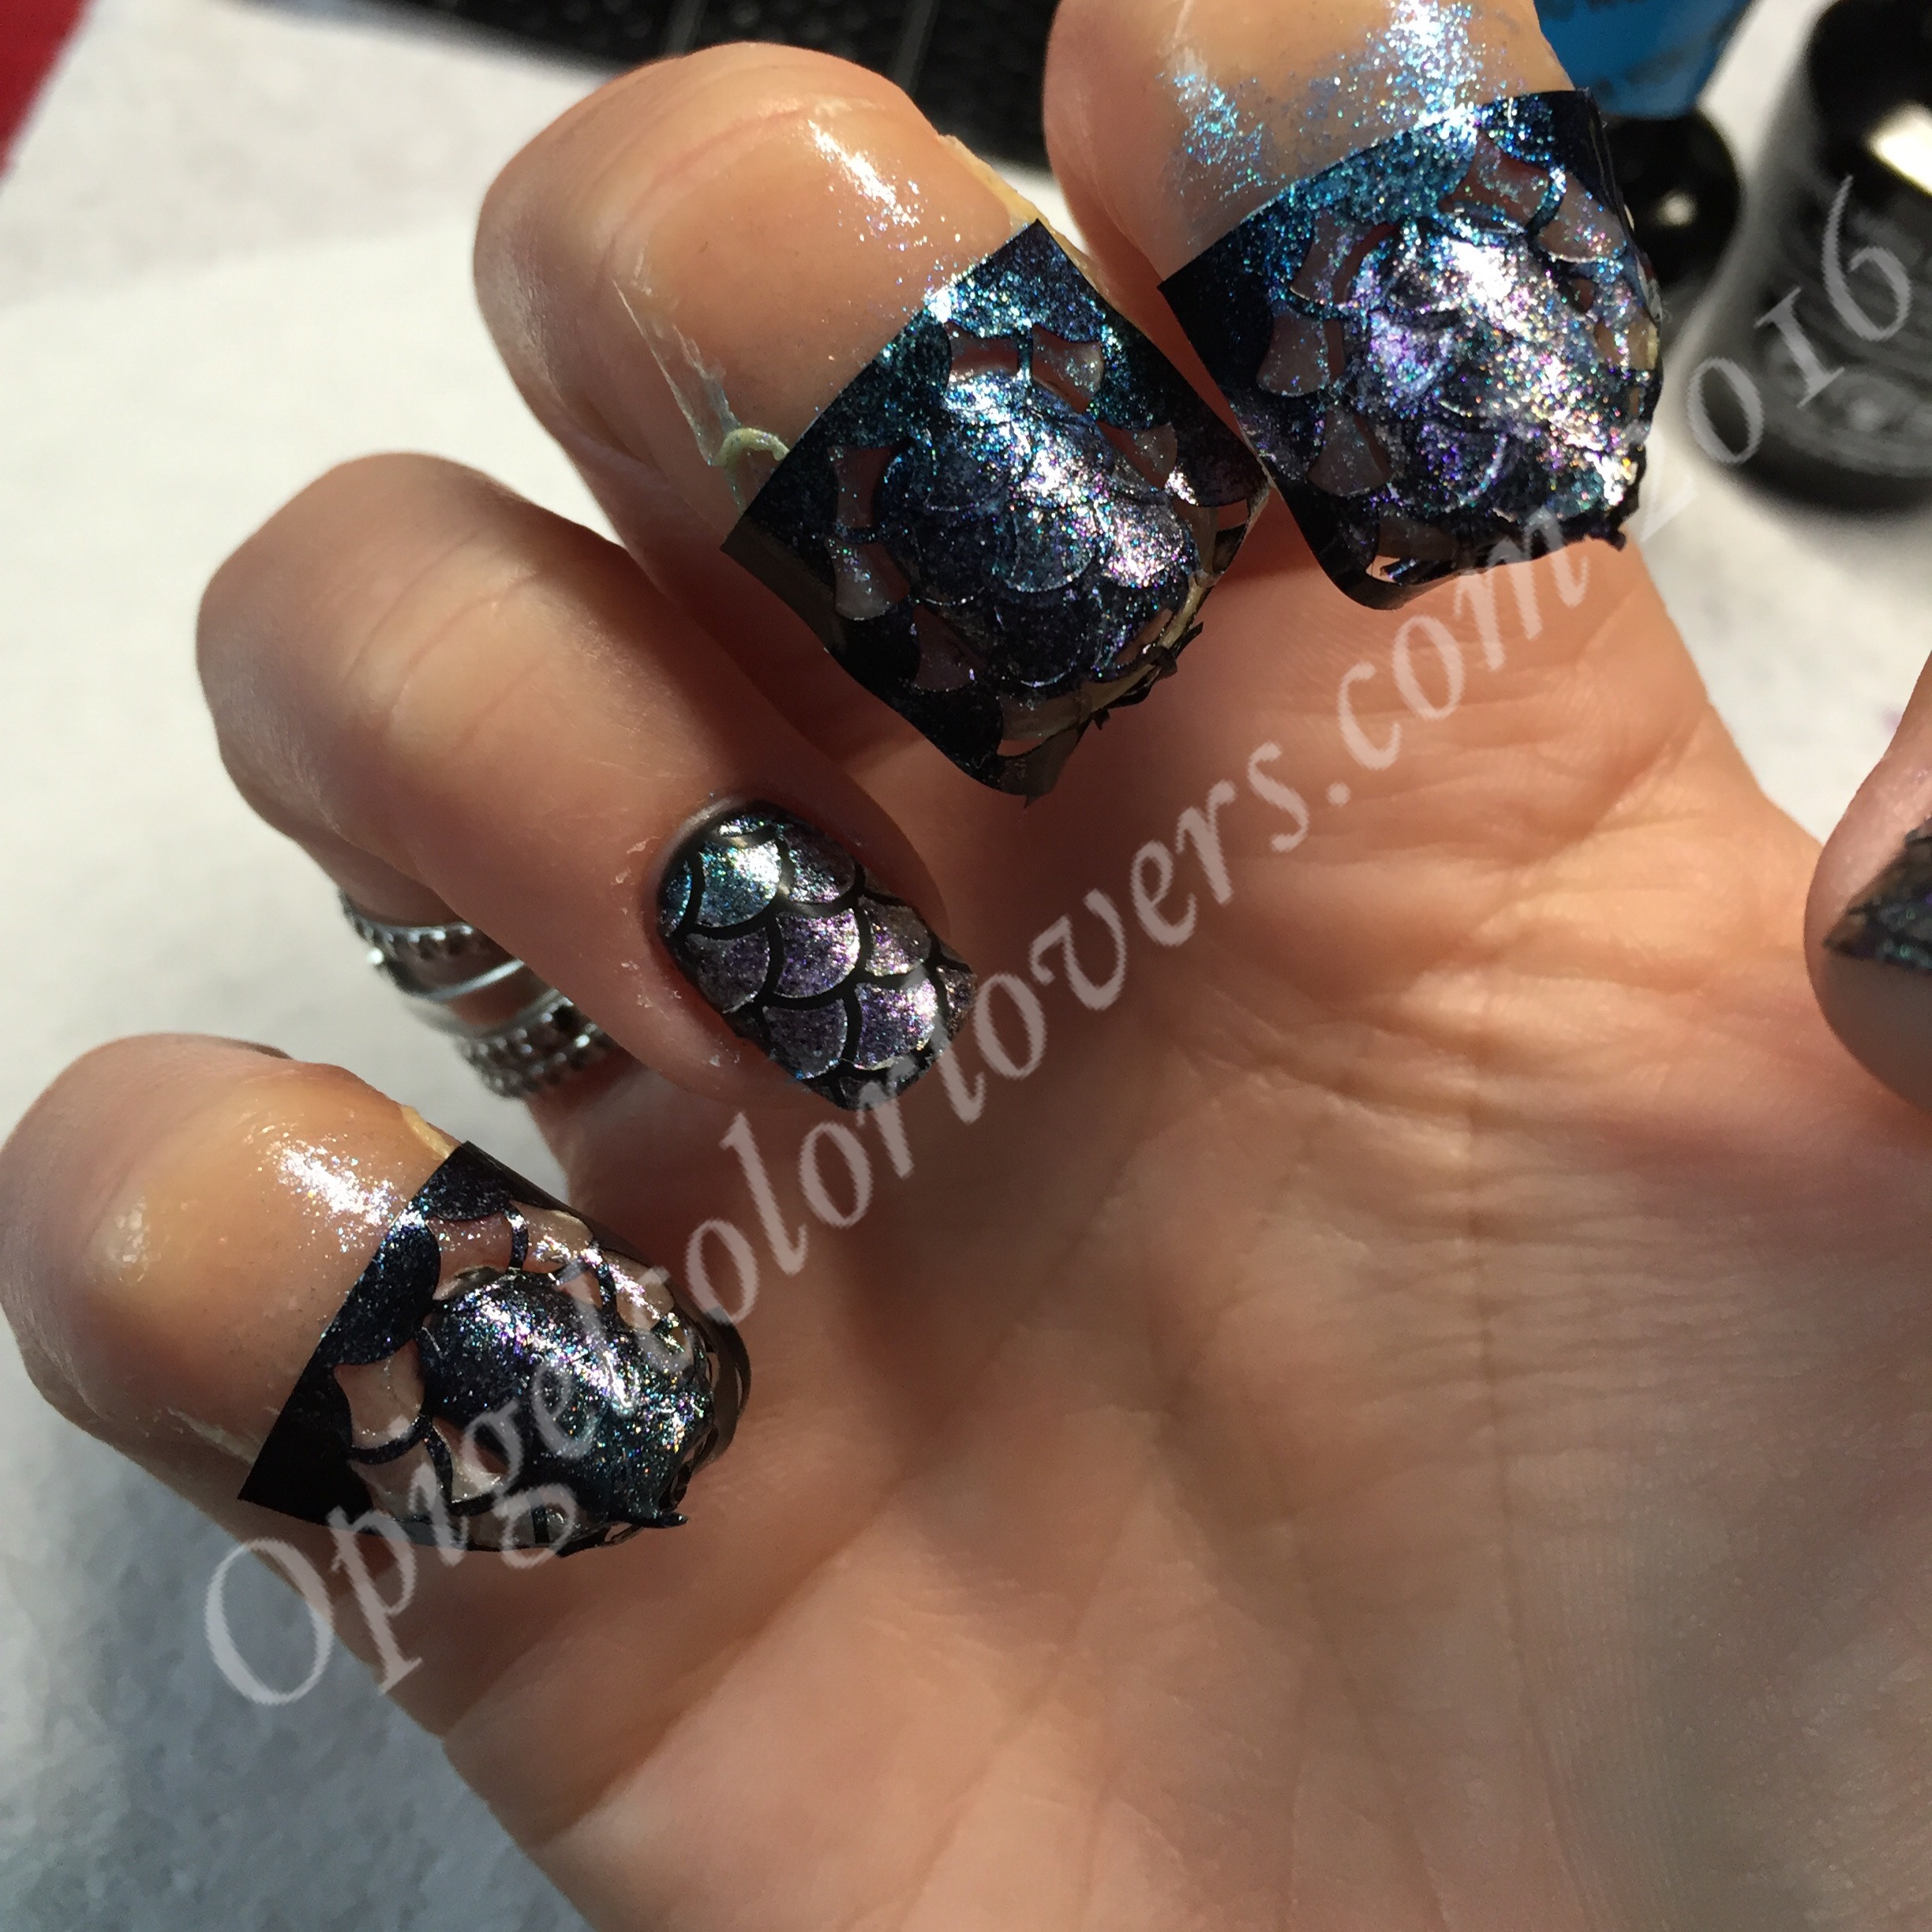
This is how it looks when all are on and have been sponged.
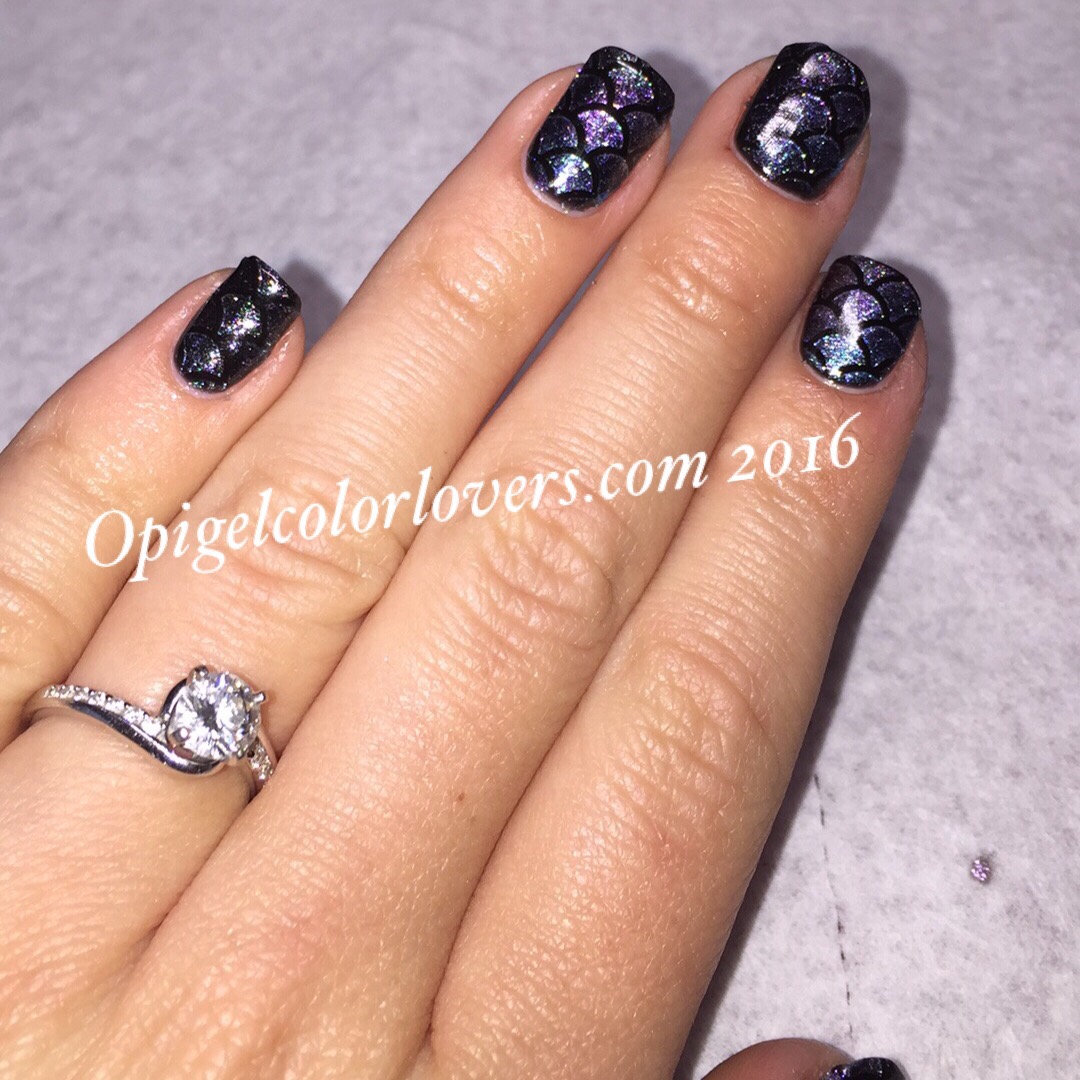
This is the nails all cured!

Final Product!!! Click here for the manicure review


One thought on “Mermaid Nail Vinyl Pic-torial ”